To finalize the plan selections based on the Preliminary Rates you received:
- Open the Proposal
- Add the final plans (if you have not done so)
- Remove extraneous plans, leaving only those plans that you want to include in your Enrollment
- Contains as “selected plans” all the plans, across all coverage types, that the client has chosen
- Is based on a census that contains all employees
- Has accurate contribution levels for each coverage type.
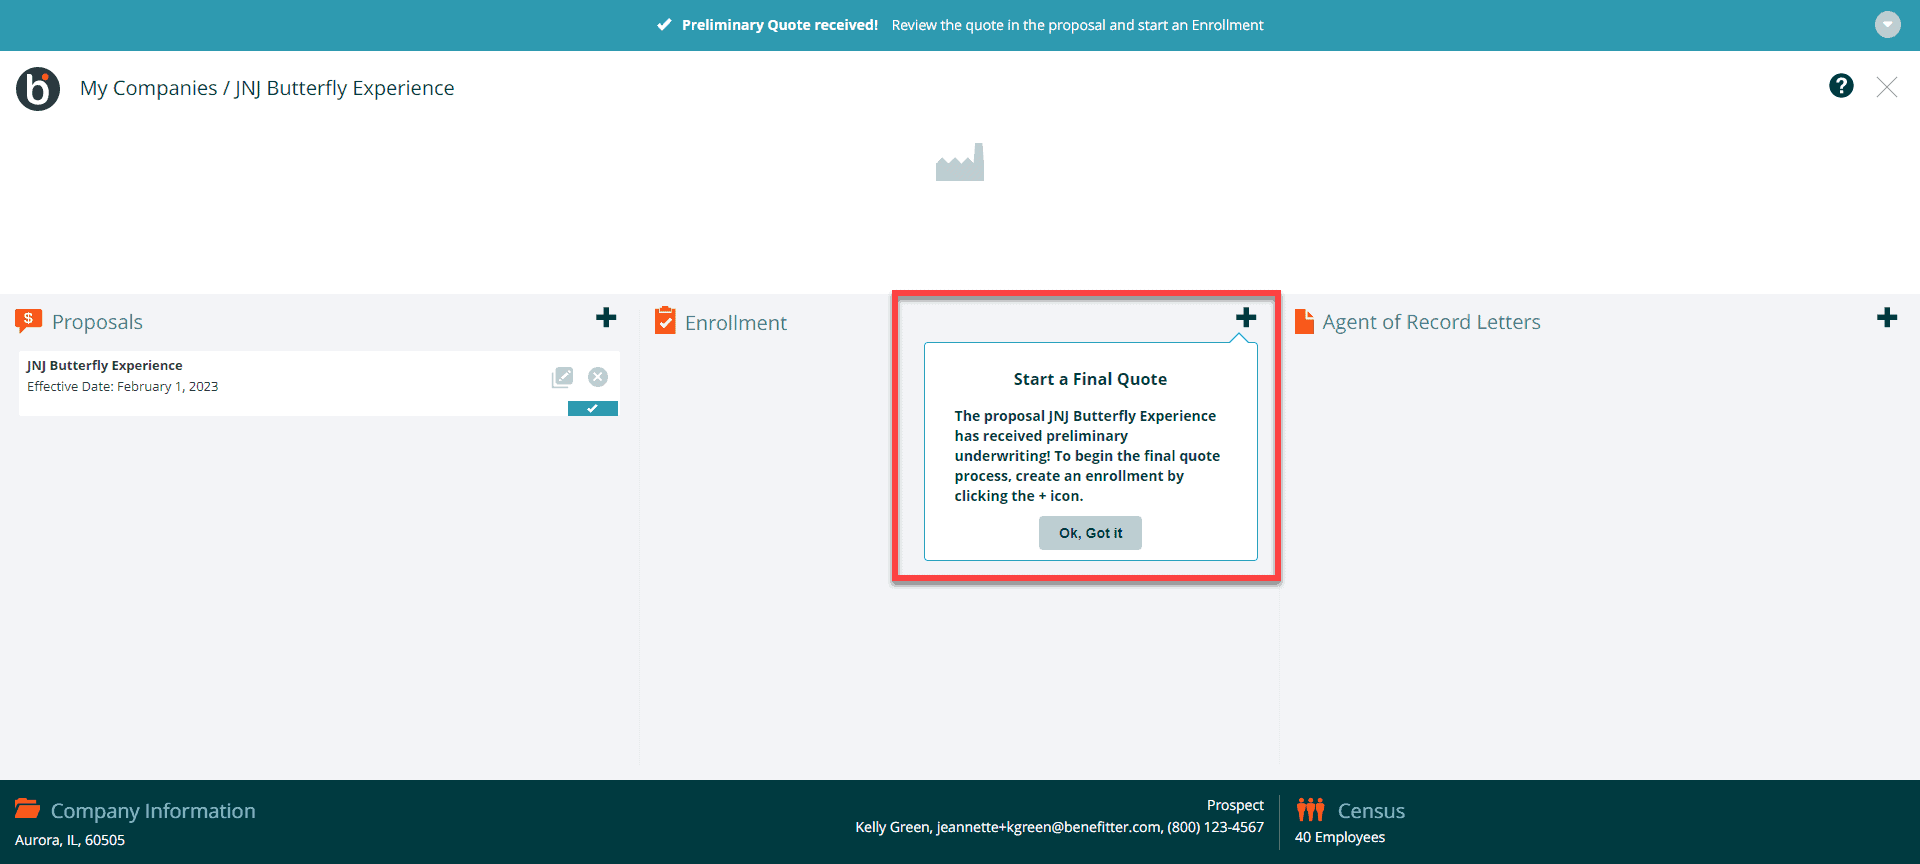
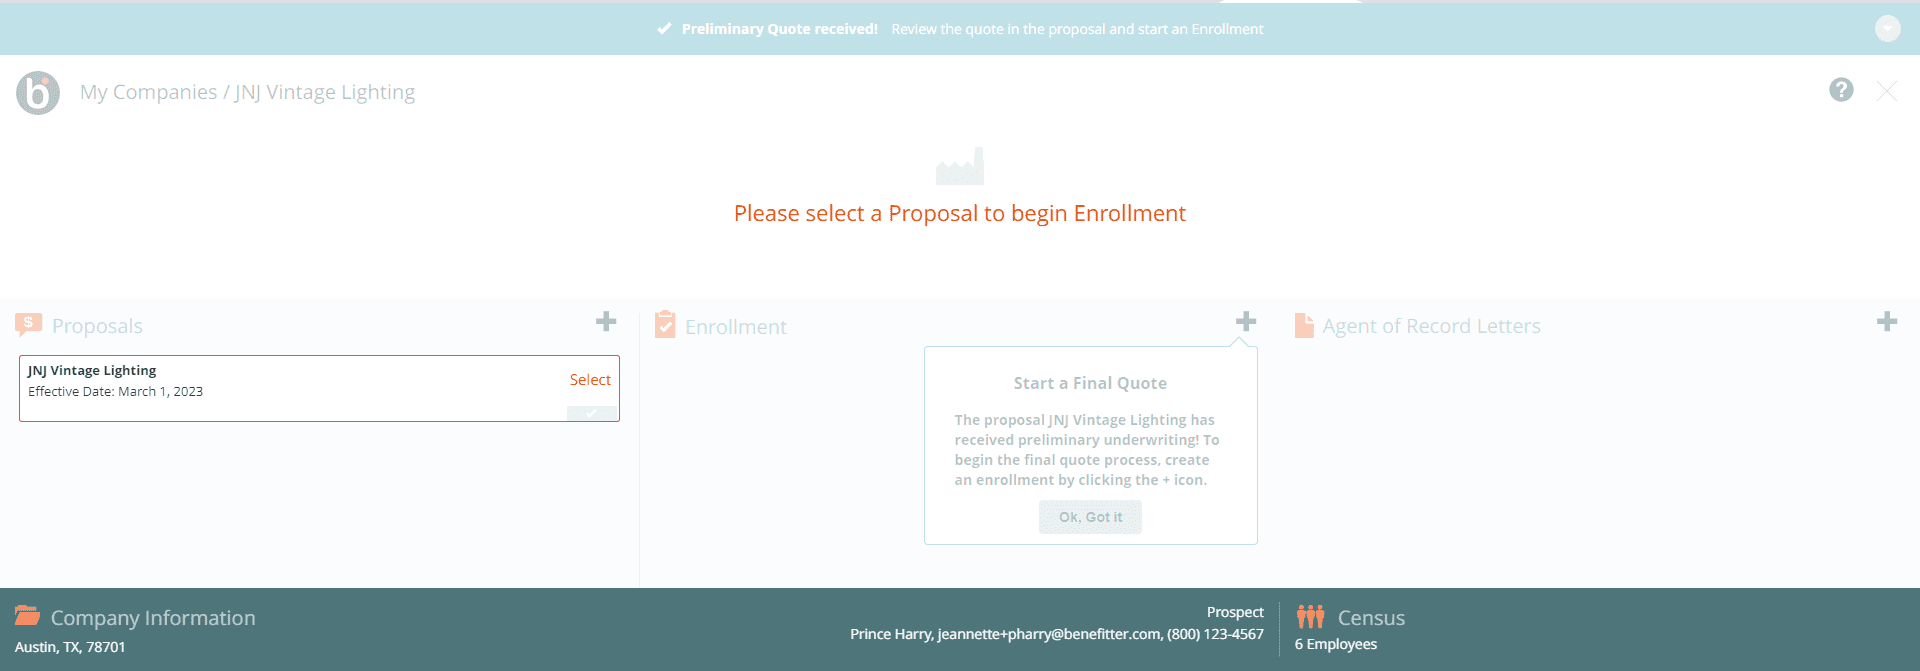
After finalizing the proposal, create the enrollment by clicking on the + icon, on the enrollment section on the company homepage. Select a proposal to use for the enrollment.
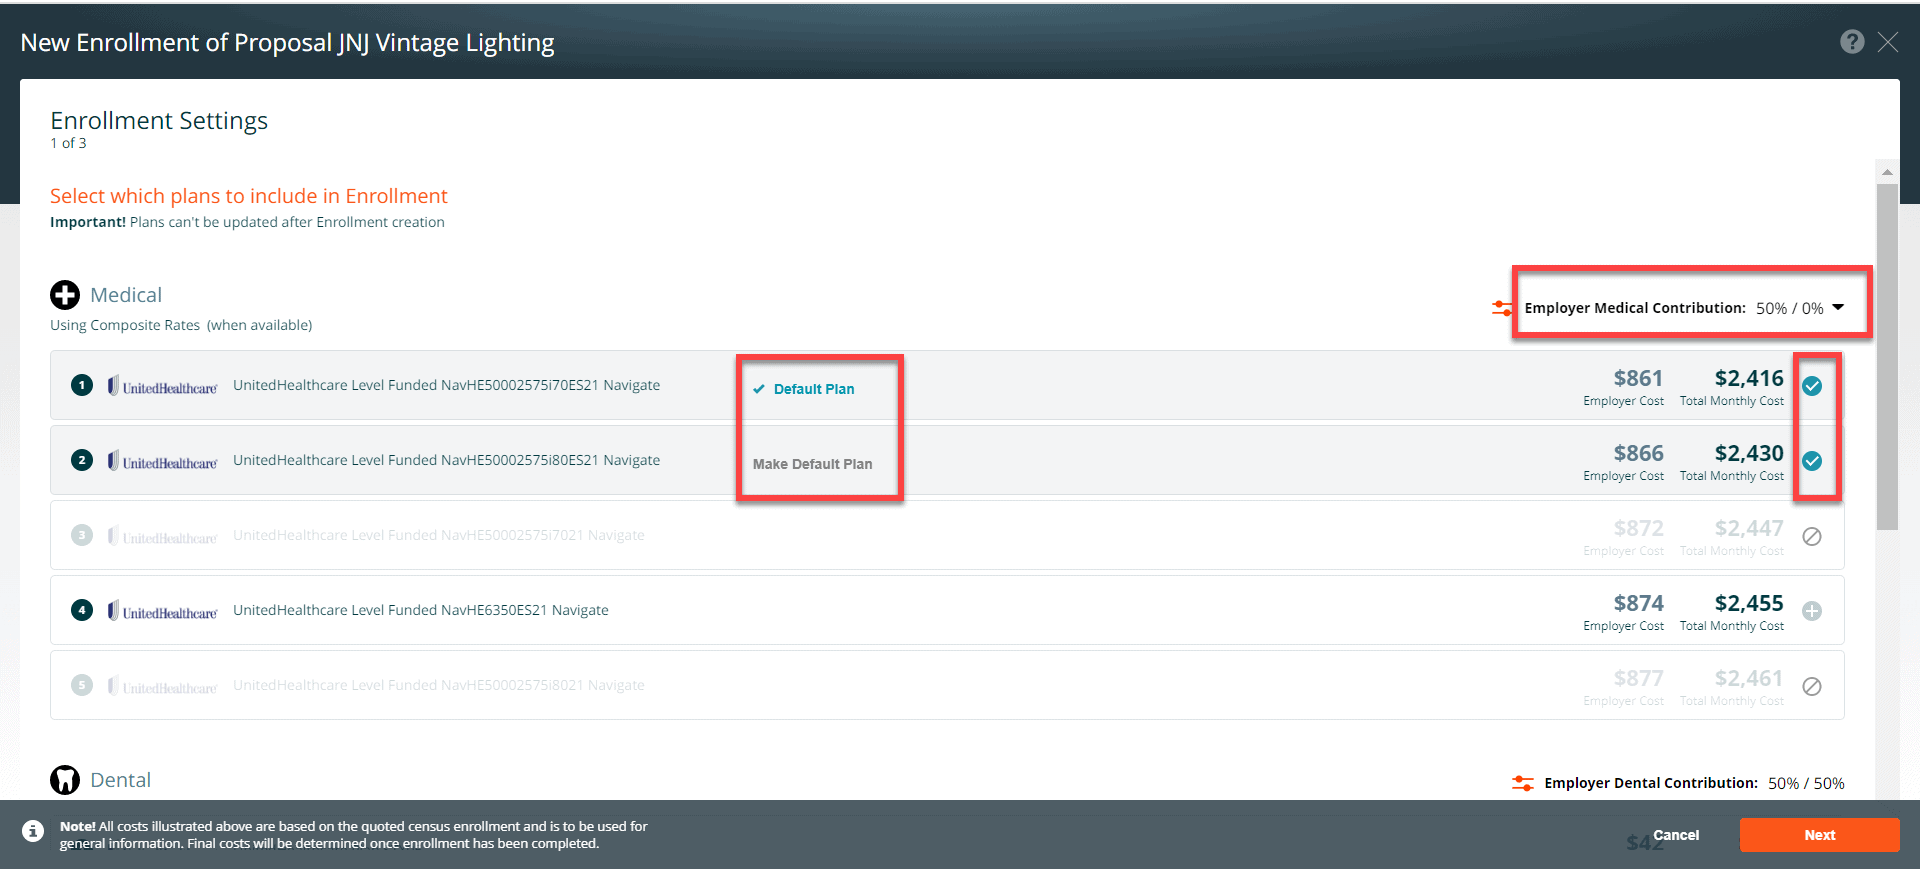
Enrollment Settings
Page 1 of 3
Select the plans to include in Enrollment by clicking on the + icon to add the plan to the enrollment. Plans can’t be updated after Enrollment creation. If you have more than one medical plan in the enrollment, click on the default plan link to choose the default plan. Click Next to proceed to page 2.
Level Funded Enrollment Settings
Page 2 of 3
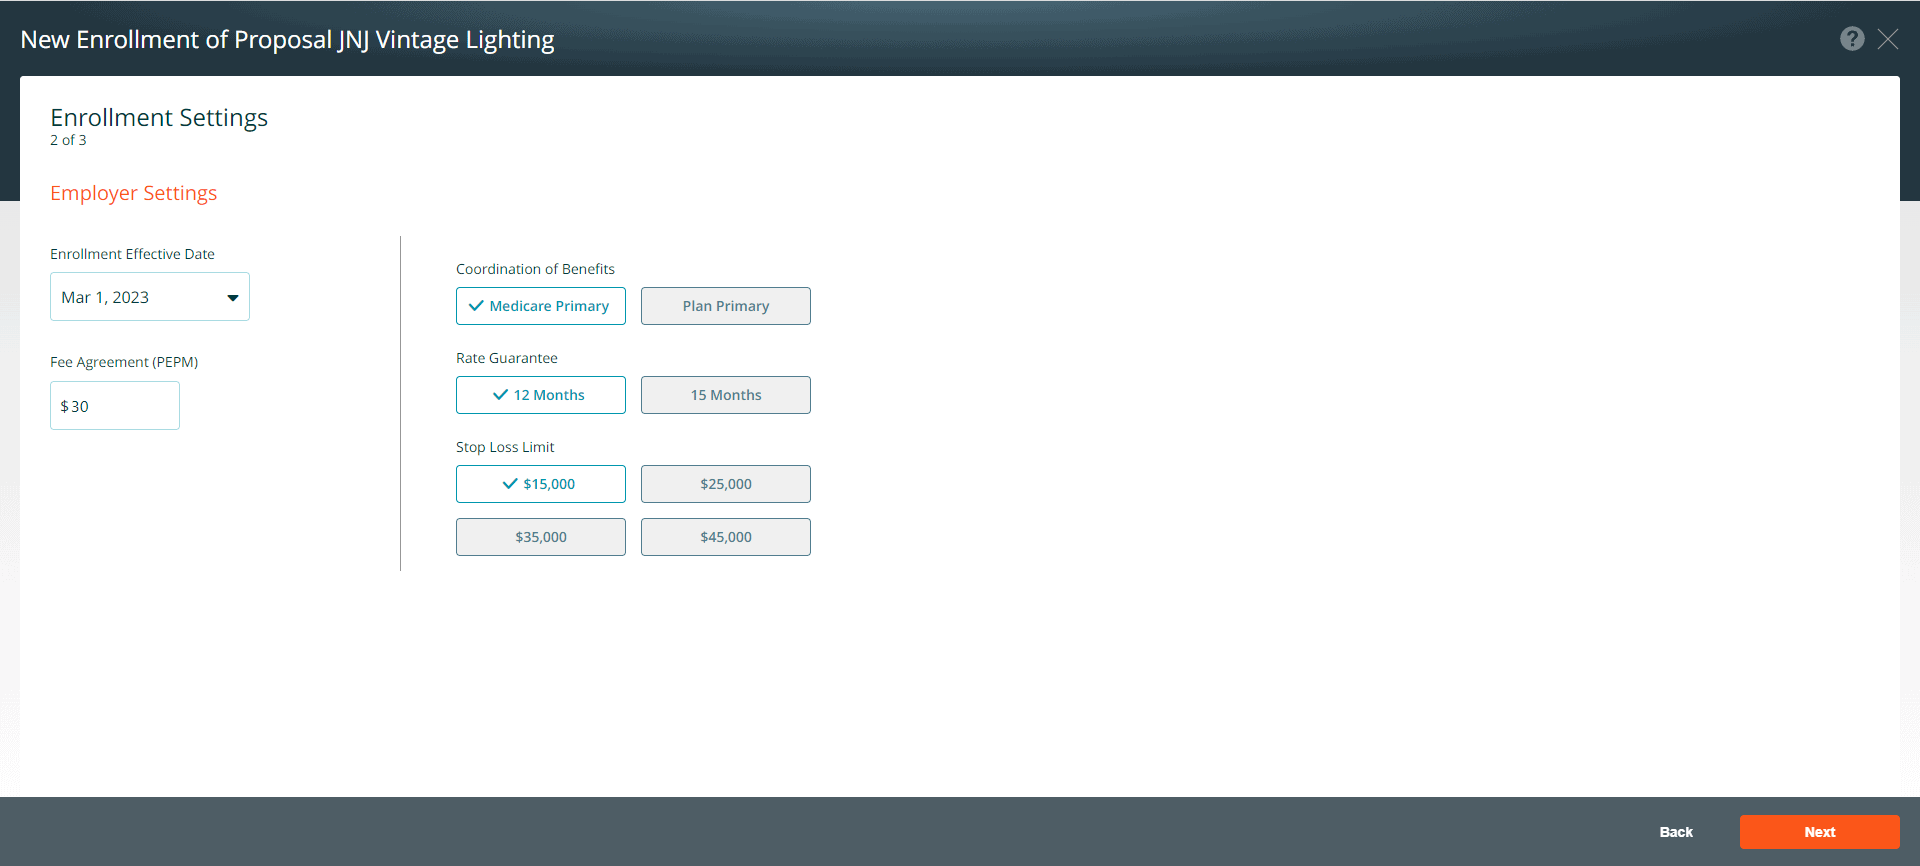
Employer Settings
The settings on this page are as follows:
- Enrollment Effective Date – Make sure the enrollment effective date and the proposal effective date are the same
- Fee Agreement (PEPM)
- Coordination of Benefits
- Rate Guarantee
- Stop Loss Limit
Press Next
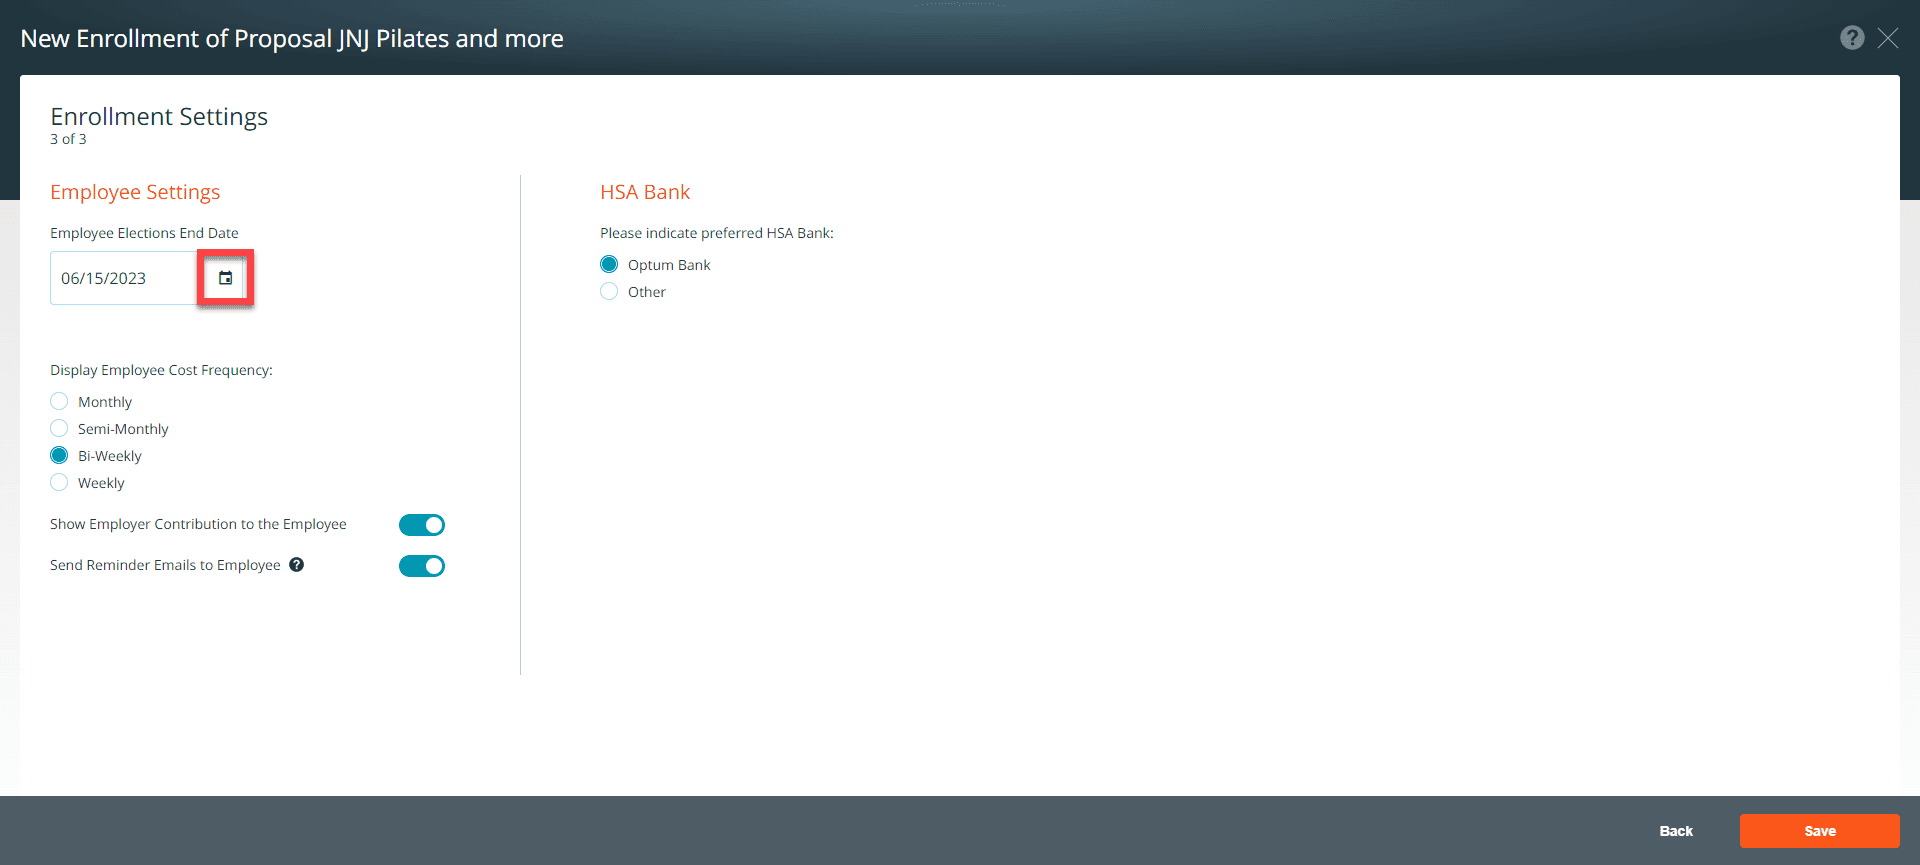
Level Funded Enrollment Settings
Page 3 of 3
Employee Settings
- Choose a deadline for employee elections
- Select the period for showing employee costs (monthly, semi-monthly, bi-weekly, or weekly)
- If desired, turn off the Employer Contribution toggle to hide the contribution amount from employees
- Use the Reminder Emails toggle to activate follow up emails for employee elections
- Select the preferred HSA Bank for the group
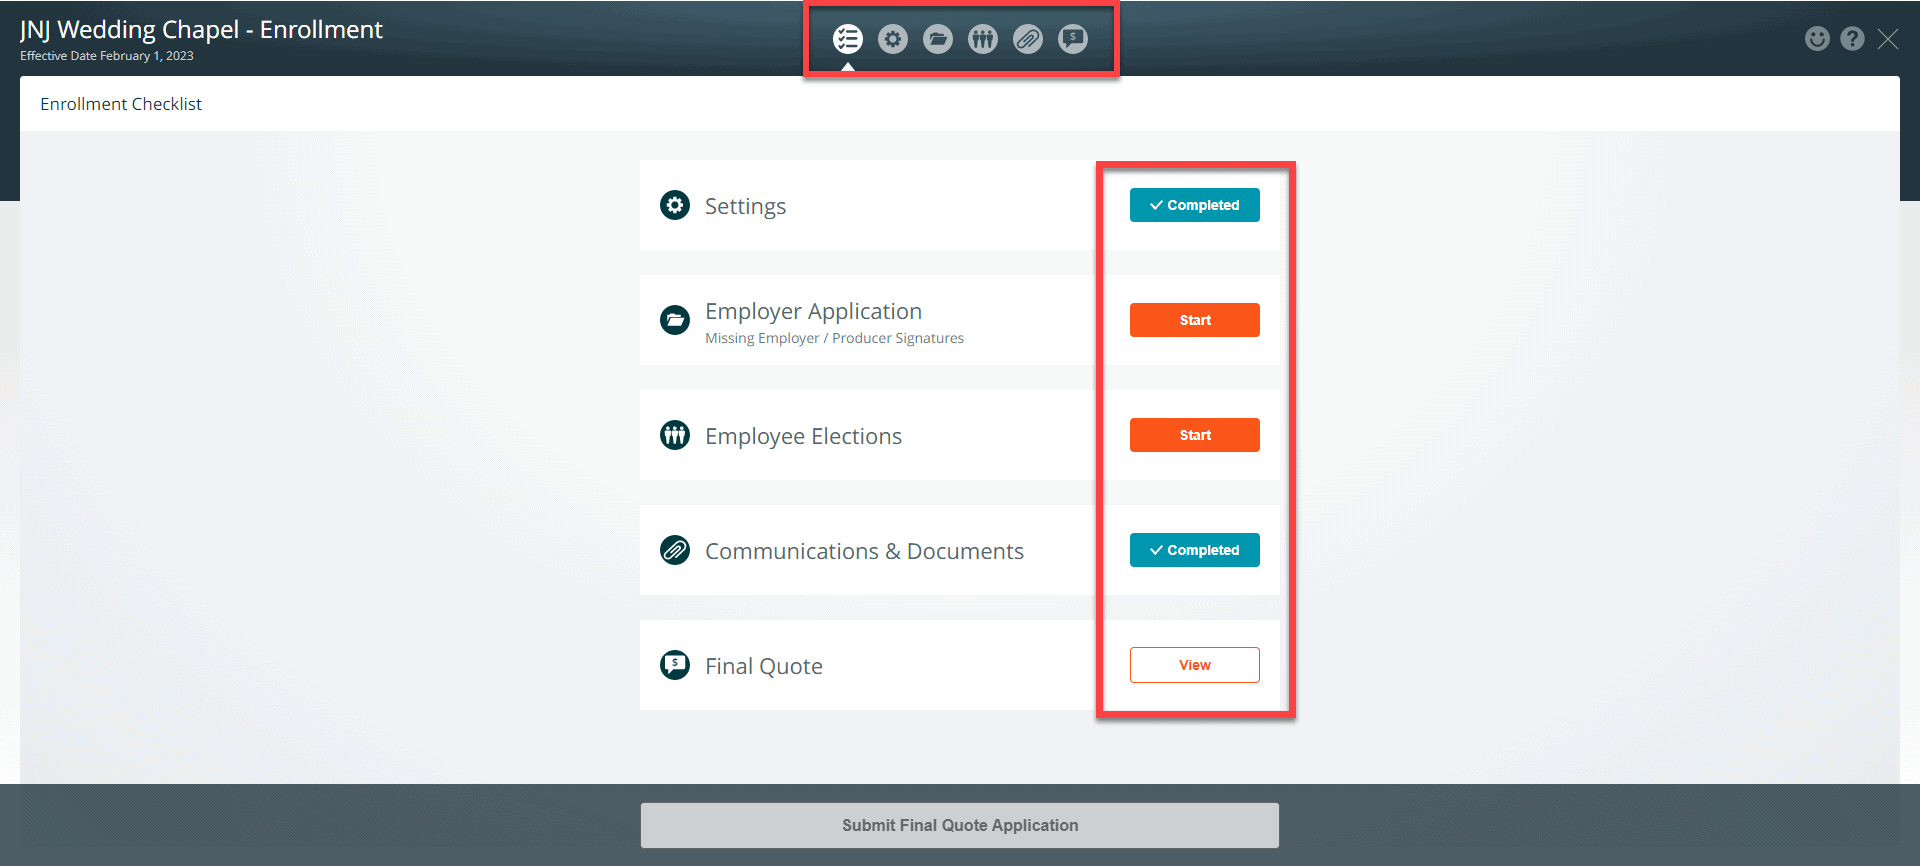
Enrollment Checklist
The enrollment checklist guides you through the Level Funded enrollment processes. To access the checklist items, click on the icons (employer application, employee elections, carrier documents, or final quote) located in the top center of the enrollment screen. Or click on the start button on the checklist item to complete the enrollment steps. The status of each checklist step will be set to: Start, In Progress, Completed, or View. The Submit Final Quote Application button will be disabled until all the required steps are completed.